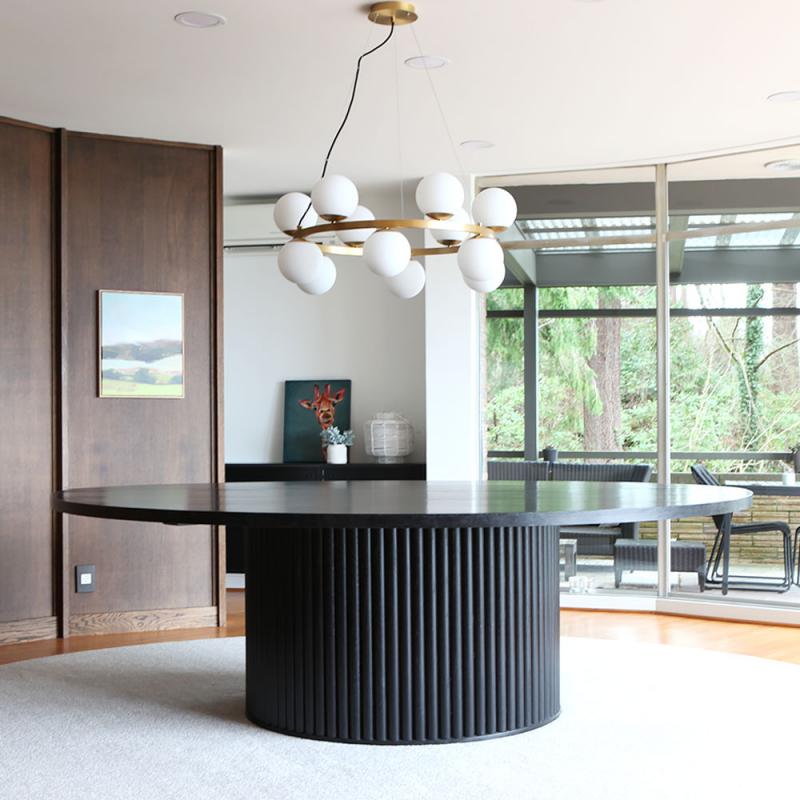
Round scalloped fluted pedestal dining table DIY - seats 10-12 people - Black Ink oak finish
Right before last Christmas, we built our new oak dining table. We had lived here 4 years by then an ...
Read
Tags: Dining room | Furniture
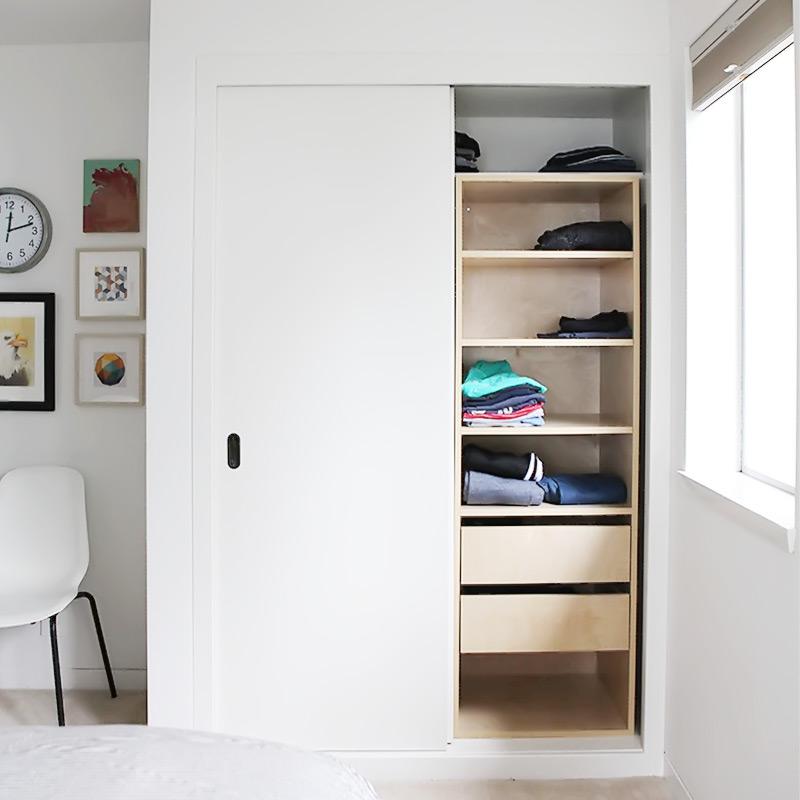
Surprise teen bedroom makeover with new closet organizer
Our teenage son recently went on a week long trip to visit old friends. While he was gone, we decide ...
Read
Tags: B's bedroom

How to: build a black side table with bent wood edges
We recently tried out a bent wood technique to see how it would work out and used it to build a smal ...
Read
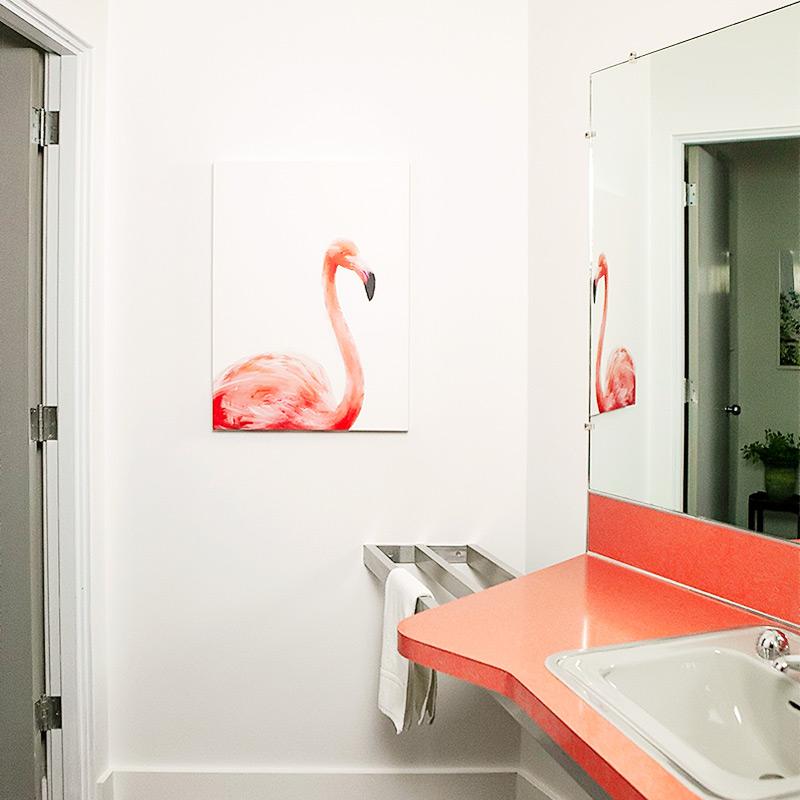
Powder room reveal
During Thanksgiving break, we tackled re-drywalling the powder bathroom off our entryway. It also be ...
Read
Tags: Guest Bathroom | Reveals
Whole house utility update and checking things off the list
After moving in, in 2017, I wrote a post about some whole house utility things (link after the jump) ...
Read
Tags: Reveals

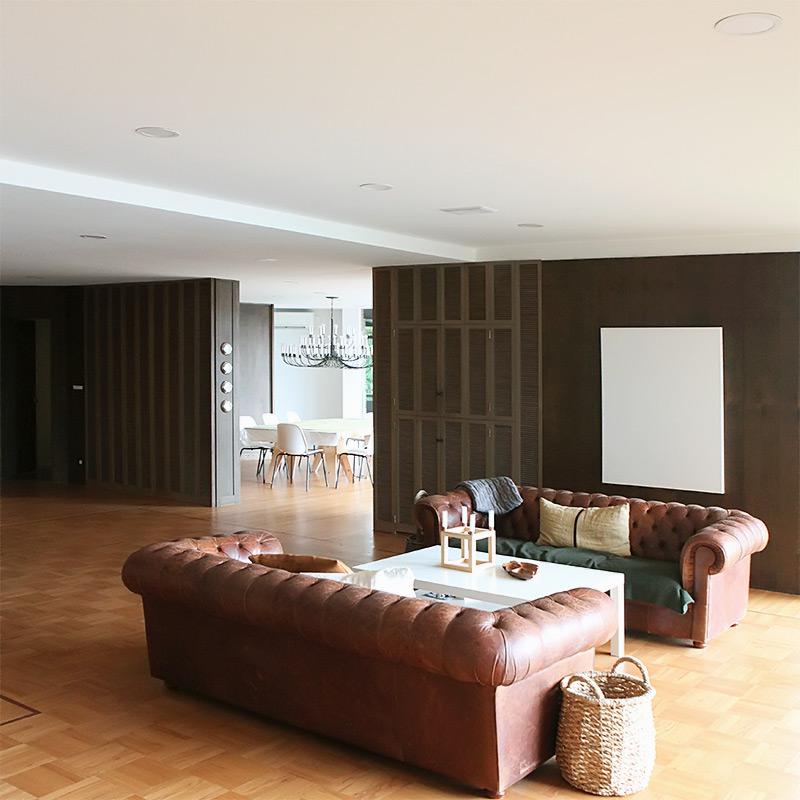
Building a seating bench with a slanted slatted front - Midcentury style - Teen den progress
This is what we are calling the Teen den. It is a hang-out space / hall way between the "kids" bedro ...
Read
Tags: Furniture
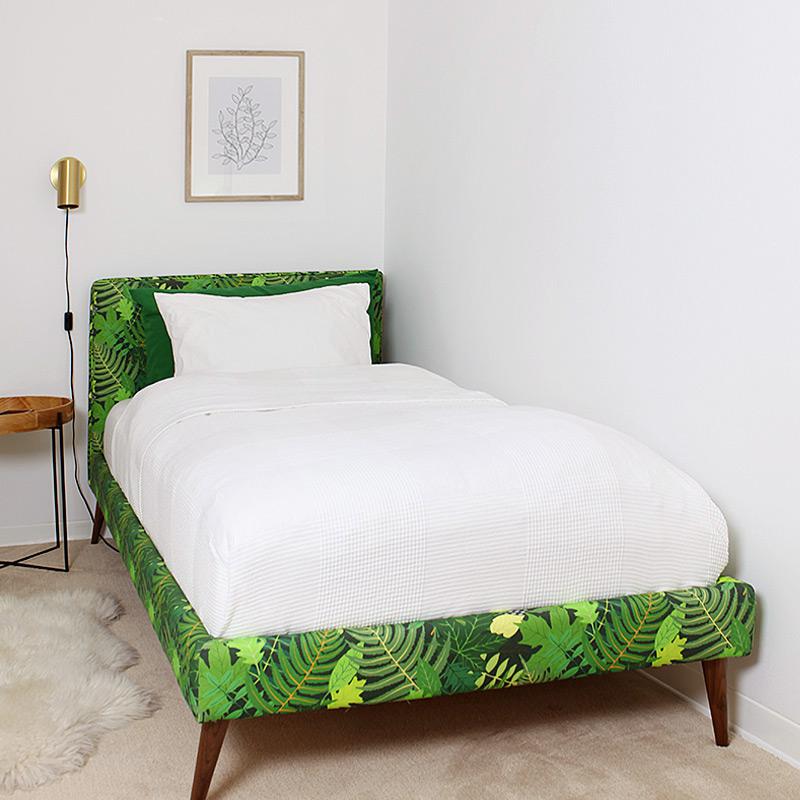
IKEA transformation: How to DIY an upholstered bedframe
Today I am revisiting our green guest room reveal where two of the 11 DIYs we made for the room ...
Read
Tags: Furniture
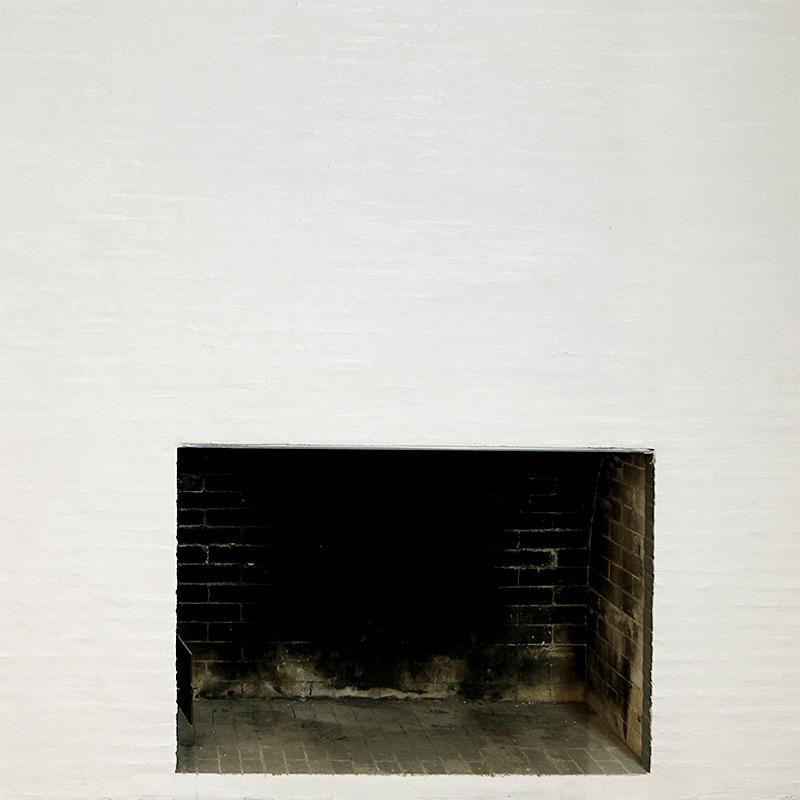
DIY brick fireplace makeover - It's not a German Schmear - a Danish Schmear?
Back when we built a house in the 90s we had a brick island built in our kitchen. The mason who buil ...
Read
Tags: Before & After

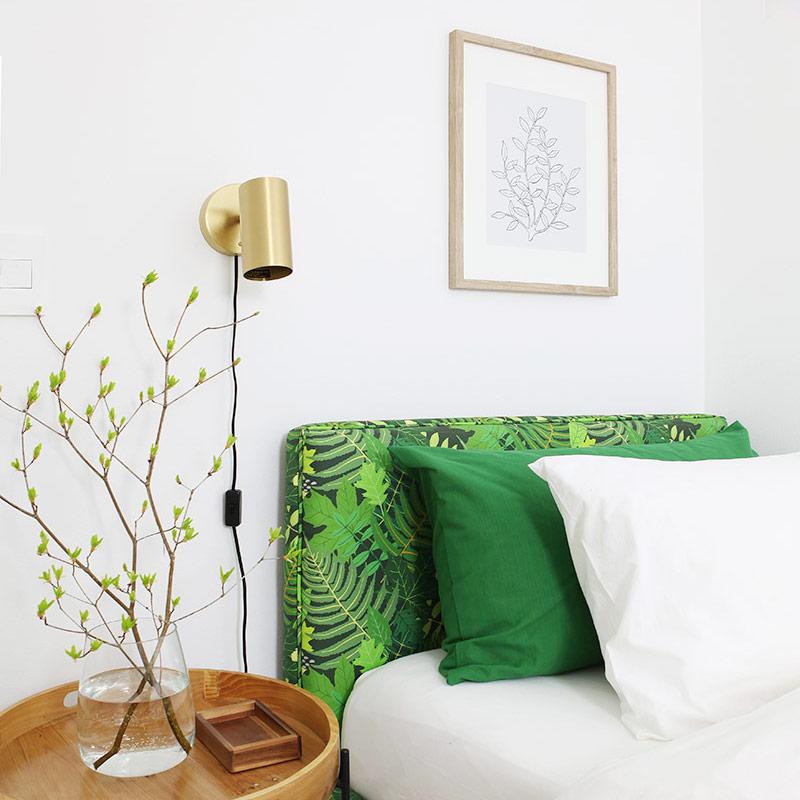
How to make your own upholstery fabric - from sketch to color accuracy to fabric textures
With the green guest bedroom finished, let me tell you about how I made the fabric for the bed uphol ...
Read
Tags: How To
Green guest room reveal - with 11 DIY projects
It is an unbelievably great feeling to have finished the first room makeover in our new home: Our gr ...
Read
Tags: Guest room | Reveals
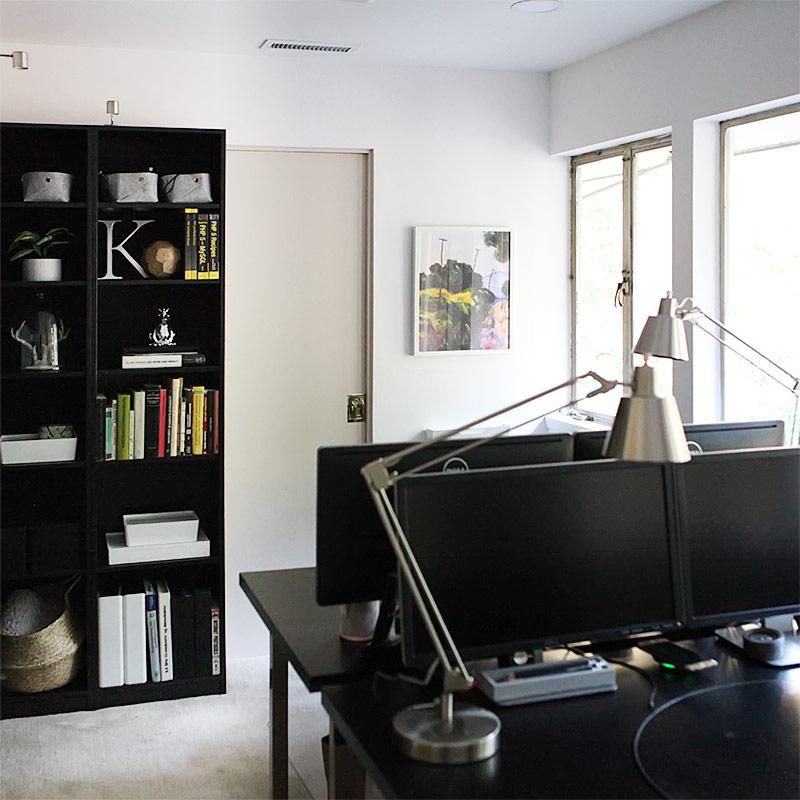
Home office reveal - bookcase and new lighting installed
Welcome to the first room reveal of our new home. Yes I thought it was going to be the green bath ma ...
Read
Tags: Home Office | Reveals
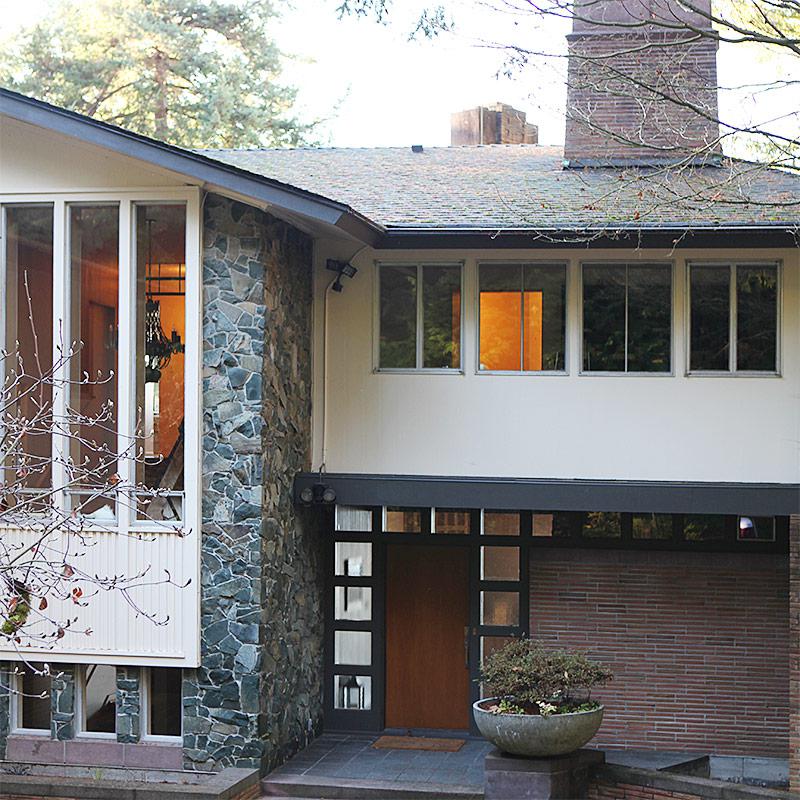
Our new old home - fixing some whole house utilitiy things and picking finishes for the overall style
You know when you buy a new old home there are actually quite a few 'overall' big decisions you have ...
Read
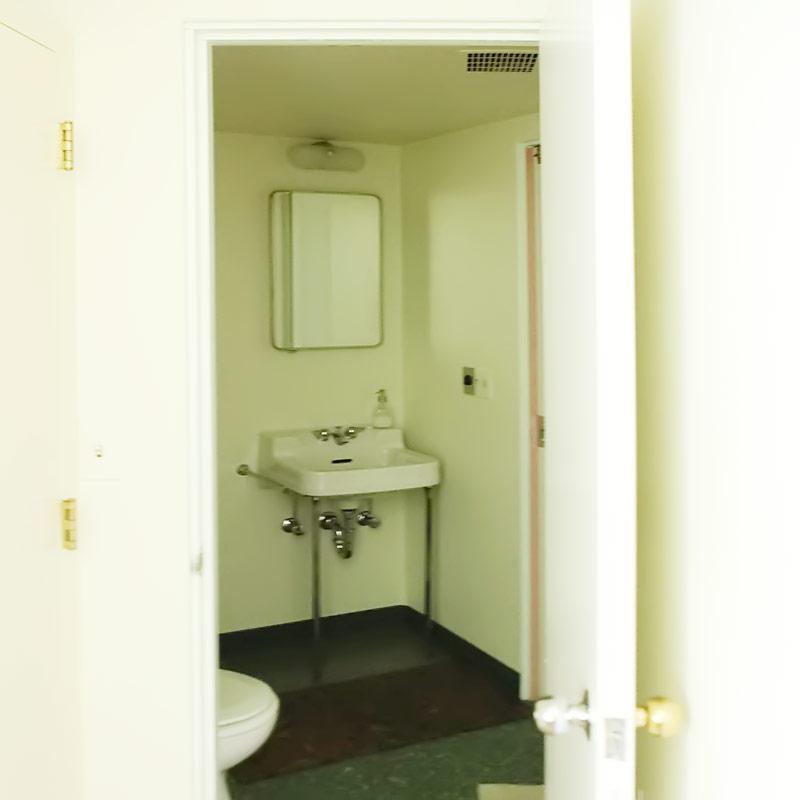
The green guest bath - before and the plan
So by now you know that we moved to Seattle and found our dream house and moved in.
We have now live ...
Read
Tags: Guest Bathroom | Reveals

Getting to Seattle and finding a home
We left sunny California behind in the middle of January so that Frank could begin at his new job up ...
Read
Tags: Blog News

Adventure bound - 2017 here we go
For some people, all they want for Christmas are two front teeth, or a hippopotamus, for others, it' ...
Read